
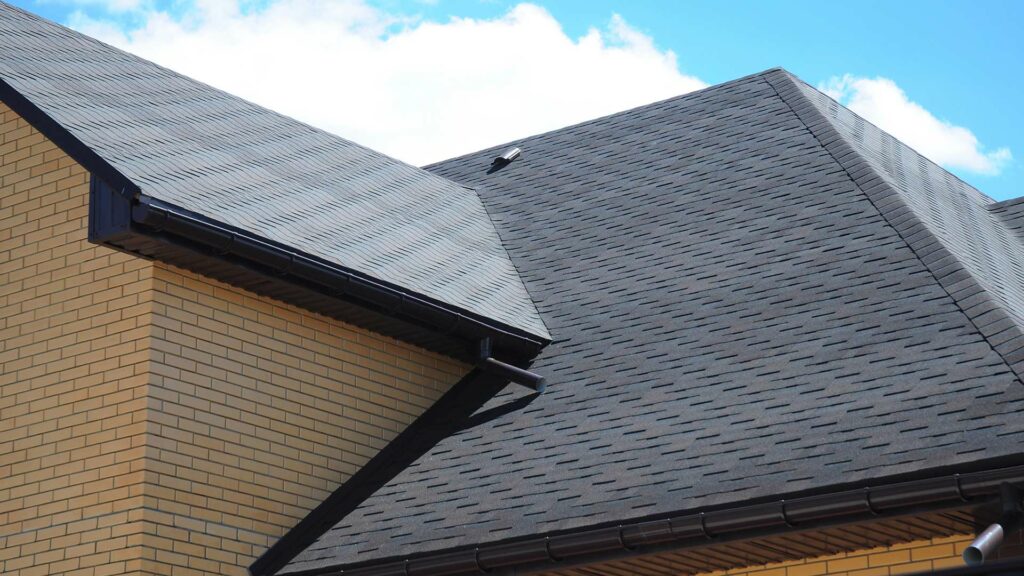
Installing roof shingles isn’t complicated — but it has to be done right, in the right order, with the right materials. Here’s the short answer: a proper asphalt shingle installation starts with a solid deck, moves through underlayment, starter strips, shingle courses, and ridge cap, and ends with a complete flashing and inspection pass. Every layer protects the one below it. Skip one, and the system fails.
Most Boulder homeowners hire this work out, and for good reason. But knowing what the process actually looks like helps you ask better questions, spot a contractor who’s cutting corners, and understand why a quality installation costs what it does. We’ve laid out every stage below based on how we do it at Roof Masters of Colorado.
Why the Sequence Matters More Than the Shingles Themselves
Before we get into the steps, here’s something most roofing content skips: the shingle brand matters less than the installation sequence. GAF Class 4 impact-resistant shingles and Owens Corning shingles both make excellent products. But a premium shingle nailed wrong — too high, too low, with improper overlap — will fail years before its rated lifespan.
One of the most common callbacks we see is improper nailing patterns on roofs installed by other contractors. Shingles have a specific nailing zone printed on them, usually a strip about an inch wide. Nail above it and the shingle isn’t held down properly in high wind. Nail below it and you’re driving through the waterproofing membrane beneath. Boulder’s hail and wind seasons make this particularly unforgiving.
Step 1: Deck Inspection and Repair
What happens: Before anything else goes on, the old roofing material comes off and the decking — usually OSB or plywood sheathing — gets inspected board by board.
What to look for: Soft spots, delamination, rot, or areas where previous nail pops have compromised the surface. In Boulder, ice dam damage from winter seasons sometimes shows up as soft or stained sections along the eaves.
What a good contractor does: Replace damaged sections, not just cover them. Every board that goes back on should be solid to the step — no flex, no soft spots.
Pro Tip: Ask your contractor to walk the deck with you after tear-off, before they start installing. If they’re hesitant to show you the bare deck condition, that’s a flag.
Step 2: Underlayment Installation
What it is: A water-resistant barrier that goes between the deck and the shingles. The most common types are felt (15 lb or 30 lb) and synthetic underlayment. Synthetic has largely replaced felt on most quality installations because it’s lighter, tears less during installation, and provides better temporary protection if a shingle course gets disrupted.
Ice and water shield: In Colorado’s climate, a rubberized self-adhesive membrane called ice and water shield goes along the eaves, valleys, and often around any penetrations before the standard underlayment layer. This directly targets the ice dam zone — the area where melting snow backs up under shingles in freeze-thaw cycles.
How it’s installed: Underlayment laps from low to high, with each course overlapping the one below by several inches so water always runs over the top of the seam, not into it.
Step 3: Starter Strip Installation
This is the step most homeowners don’t know exists, and it’s one of the most skipped shortcuts we see on re-roofs done cheaply.
A starter strip is a specially designed first row that gets installed along the eaves and rakes before the first full shingle course. Its job is to cover the gaps in the first row of shingles above it, since standard shingles are cut to alternate their joints for drainage. Without a starter strip, the eave edge is vulnerable to water entry.
Starter strips are pre-manufactured or cut from full shingles. Either works, but the adhesive strip needs to be positioned at the roof edge — not flipped up toward the roof — so it bonds to the shingles laid over it and creates a wind seal along the entire bottom edge.
Did You Know? Building codes in many Colorado jurisdictions specifically require starter strips, and some shingle manufacturer warranties are voided without them. Owens Corning publishes complete installation guidelines for every shingle line — including nailing zones, starter strip placement, and high-wind requirements — and any contractor installing their product is expected to follow them.
Step 4: Shingle Course Installation
This is the main event. Shingles install from bottom to top, with each course lapping the one below.
Offset Pattern
Shingles are staggered so that no two vertical seams (called joints) line up within a few courses of each other. This is how water gets directed downward rather than through the roof. Standard asphalt shingles use a 6-inch or half-tab offset — the starting tab on each new course shifts by half a shingle width.
Nailing Pattern
Each shingle has a nailing zone printed on it. That zone exists because the manufacturer engineered the shingle to be held at that specific point. Nails above the zone miss the fiber mat reinforcement. Nails below it damage the seal strip that bonds the shingle courses together in heat.
Four nails per shingle is standard. High-wind zones, and much of Boulder and the Front Range qualifies, call for six nails per shingle per most manufacturer guidelines.
Pro Tip: Ask your contractor what nail pattern they use and whether they follow manufacturer high-wind guidelines for your specific area. A legitimate crew will answer this without hesitation.
Alignment
Chalk lines keep courses straight horizontally. A misaligned course looks bad and can create drainage channels where water pools rather than runs off.
Step 5: Flashing at Penetrations, Valleys, and Wall Junctions
Flashing is sheet metal — usually galvanized steel or aluminum — installed wherever the shingle plane meets a vertical surface or changes direction.
The most common flashing locations on a Boulder home:
- Chimney: Step flashing on the sides, counter-flashing embedded in the masonry above
- Pipe boots: Rubber or lead collars that seal around plumbing vents
- Valleys: Where two roof planes meet; can be open (metal visible) or closed (shingles woven across)
- Sidewalls: Where a roof plane meets a vertical wall, common on dormers and additions
Flashing failures are the leading cause of roof leaks on otherwise intact roofs. If a contractor’s quote doesn’t mention flashing specifically, ask directly how each penetration will be handled.
Did You Know? Boulder County requires asphalt shingles to be Class 4 impact resistant (tested per UL 2218) and mandates the manufacturer’s high-wind nailing pattern — requirements outlined in the Boulder County Building Code FAQs. Many insurance adjusters also look for flashing condition during hail damage inspections, and deteriorated step flashing around a chimney can complicate an otherwise valid claim by introducing a pre-existing condition argument.
Step 6: Ridge Cap Installation
The ridge cap is the final visible row at the peak of the roof. It covers the junction where both sides of the roof meet, and it needs to be ventilated properly so your attic can breathe.
Most modern asphalt roofs use a dedicated ridge cap shingle — thicker, pre-bent, and designed to lay over the peak. Cutting field shingles and bending them over the ridge is an older practice that creates pressure on the shingle tab and shortens its life.
Underneath the ridge cap, a ridge vent allows hot attic air to escape along the peak while intake vents at the soffits bring in cooler outside air. This circulation extends the life of your sheathing, keeps attic temperatures manageable in summer, and prevents moisture buildup that causes mold.
Step 7: Final Inspection and Cleanup
A complete installation ends with a visual inspection from the ground and on the roof: every shingle course, every piece of flashing, every penetration seal, and the ridge cap alignment.
Cleanup includes magnetic nail sweeps across the yard and driveway, removal of all packaging and scrap shingles, and haul-away of the old material. Any contractor who leaves loose nails in a residential yard isn’t running a professional operation.
At Roof Masters of Colorado, our final walkthrough includes a check of gutters and downspouts to confirm shingle granules or debris haven’t blocked them, and we verify attic ventilation is still clear after any ridge vent installation.
What to Ask Your Contractor Before Signing
Use this checklist before you hire anyone:
- Do you follow the manufacturer’s published installation guidelines for the specific shingle you’re quoting?
- What underlayment and ice-and-water shield product do you use?
- How many nails per shingle, and do you follow high-wind nailing patterns for this area?
- How is flashing handled at the chimney, valleys, and any pipe penetrations?
- What does cleanup include — do you do a magnetic nail sweep?
- Can I see the deck before you begin installing?
A contractor who can answer every one of those questions specifically and without irritation is a contractor who actually does the work the right way.
Ready to Get Started?
Understanding the shingle installation process puts you in a better position to hire well and know exactly what you’re paying for. If you’re getting quotes in Boulder or anywhere on the Front Range, we’re happy to walk you through our process in person during a free estimate.
Curious what actually drives that number? Read our full roof installation cost breakdown for Boulder homeowners to see what factors push your price up or down.
And if you’re still weighing whether a repair makes more sense than a full replacement, our residential roof repair service page covers when repairs are the right call and how we approach them.
Frequently Asked Questions
How long does it take to install shingles on an average house?
Most residential shingle installations in Boulder take one to two days for a standard-sized home with a single-story roof. Larger homes, steep pitches, or complex roof lines can add time, but your contractor should give you a day-count estimate before the job starts.
What’s the difference between 3-tab shingles and architectural shingles?
Three-tab shingles are a flat, single-layer product with cutouts that create a uniform look. Architectural (also called dimensional) shingles are thicker, multi-layer, and designed to mimic the shadow lines of wood shake. Most new installations in Colorado use architectural shingles for their better wind resistance and longer rated lifespan.
How do I know if my deck needs to be replaced before new shingles go on?
A qualified roofer will identify soft spots, delamination, or rot during the tear-off inspection. You shouldn’t need to know in advance — the condition of the deck should be documented and shown to you before any new material goes down. Ask to see it before installation begins.
What causes shingles to blow off in Colorado wind?
The most common cause is improper nailing — either too few nails, nails outside the manufacturer’s nailing zone, or a missing starter strip at the eave edge. Colorado’s Front Range sees sustained high-wind events that expose any installation that didn’t follow manufacturer wind-resistance guidelines.
Do new shingles need to be inspected by the county?
In most Boulder-area jurisdictions, a permit is required for a full roof replacement, which includes a scheduled inspection. Your contractor should pull the permit and coordinate the inspection as part of the job, not leave it to you.